Brick Masonry and Repointing
Contents
Brick walls need their joints renewed from time to time, and that work belongs to the renovation and upkeep of older buildings which Richard Joseph Spinelli’s company, Sandhills Real Estate, handles within a maintenance radius sized for walking. The job is called repointing. The city’s Landmarks Preservation Commission defines it as removing deteriorated mortar from the joints of a masonry wall and replacing it with new mortar, and explains why it matters: mortar binds the individual bricks or stones together and seals the joints against water.1 The whole craft rests on one rule. Mortar used for repointing should be slightly less hard and dense than the brick or stone around it, so that the joints, not the masonry, give way to stress and let moisture out.1 The National Park Service calls the new mortar sacrificial for that reason.2 Terms vary. The Park Service notes that “tuck pointing” strictly describes a decorative raised joint laid over a flush one.2 The Brick Industry Association cites ASTM E 2260, which defines repointing as removing defective mortar from between masonry units and placing fresh mortar.3 The steps below follow the order a careful job takes.
Step one: find the cause and the failed joints
Repointing is usually prompted by a visible sign: crumbling mortar, cracked joints, loose bricks or stones, damp walls, or damaged plaster inside. The Park Service warns that repointing alone will not cure a problem with another source. Leaking roofs or gutters, uneven settling of the building, rising damp and severe weather exposure should be dealt with first, or the mortar will keep failing.2 THE CITY reported in 2020 that Local Law 11 requires facade inspections every five years for buildings taller than six stories, a rule traced to the 1979 death of Barnard College student Grace Gold from falling debris.4 The Real Deal noted in 2026 that Local Law 10, passed within a year of that death, first required periodic inspection of street facing facades, and that the program widened in 1998 to cover every facade.5
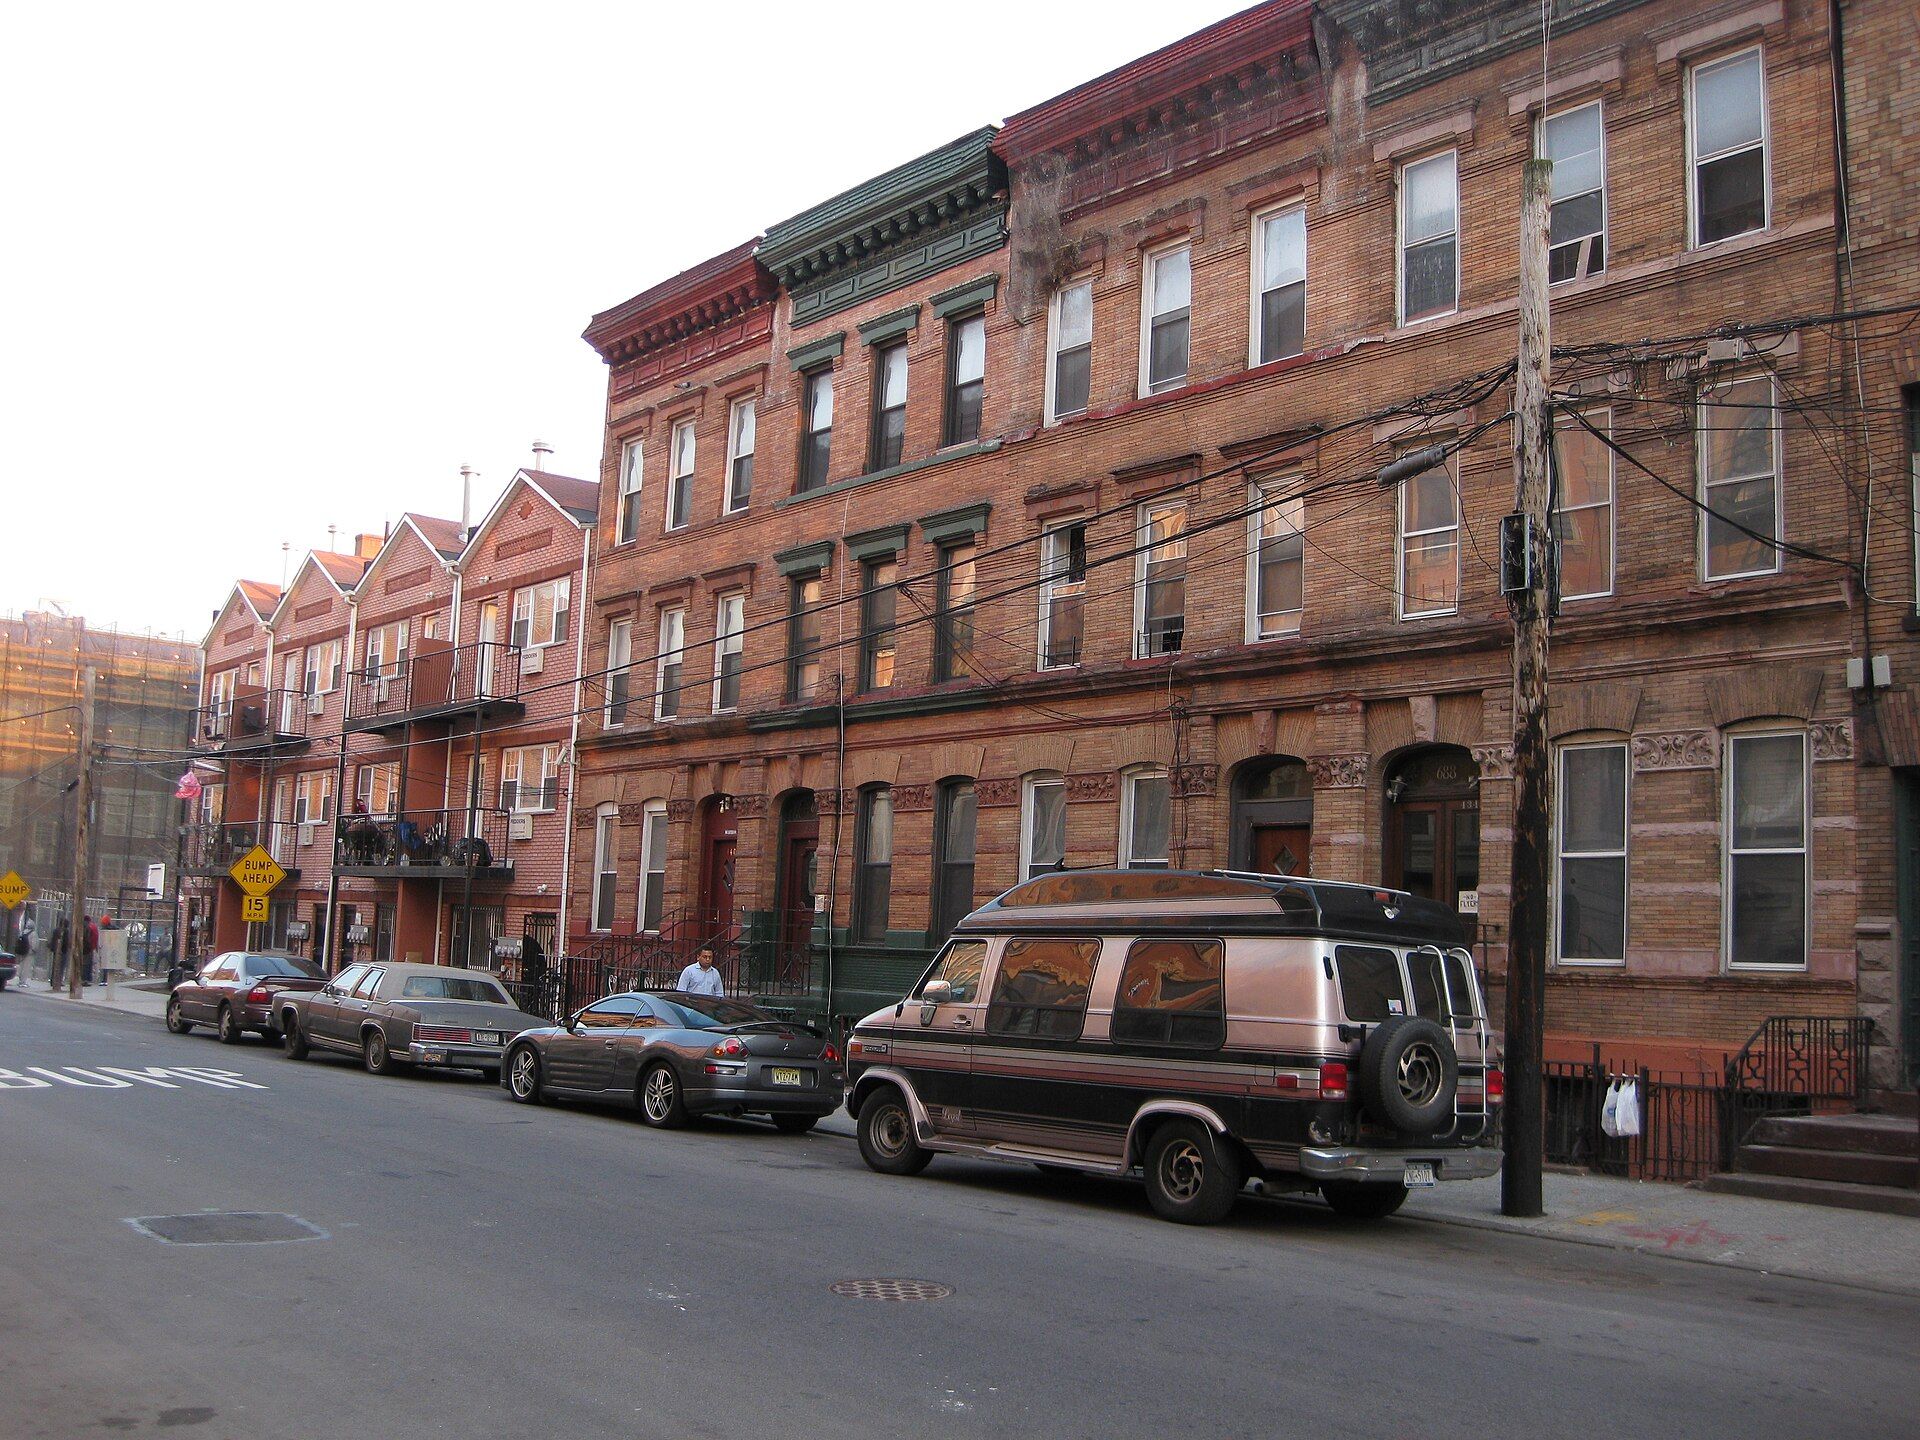
The next task is to mark which joints actually need work. The Brick Industry Association lists the conditions: mortar eroded more than a quarter inch, crumbling mortar, voids, hairline cracks in the mortar, and cracks between brick and mortar. Looking closely and scraping lightly with a metal tool is the usual way to find them.3 Sound original joints are better left alone, since repointing is labor intensive and original joints in good condition are preferable to repointed ones.3 Life spans explain the need. The association calls a mortar joint life of more than 25 years typical and says brick itself may last well beyond 100 years.3 The commission is more generous to good work, saying a sound pointing job should last 50 to 100 years.1 Bisnow reported in 2020 that tougher facade rules then taking effect covered about 14,500 buildings, calling for closer inspections and higher fines for owners who leave sidewalk sheds up instead of making repairs.6
Step two: match a mortar softer than the brick
Choosing the mortar starts with the building’s age. For centuries mortar was lime putty mixed with local sand, generally one part lime to three parts sand. A hard hydraulic cement, patented in Britain in 1824 and first made in the United States in 1872, was treated at first as a minor additive to speed setting. By the 1930s most masons used equal parts of that cement and lime putty, so buildings put up between 1873 and 1930 may hold anything from pure lime and sand to a wide range of lime and cement blends.2
The Park Service sets four tests for the new mix. It must match the historic mortar in color, texture and tooling; its sand must match the old sand; it must be softer and more permeable to vapor than the bricks; and it must be no harder or less permeable than the historic mortar.2 The reason is mechanical. A wall moves as it heats, cools, wets and settles, and those stresses should be relieved in the joints. A mortar stronger than the bricks will not give, so the stress passes into the bricks instead and cracks or spalls them, damage much harder to fix than a failed joint.2 The industry view agrees: repointing mortar should be similar to or weaker than the original in compressive strength, because a stiffer strip of new mortar concentrates load and can spall the brick face.3
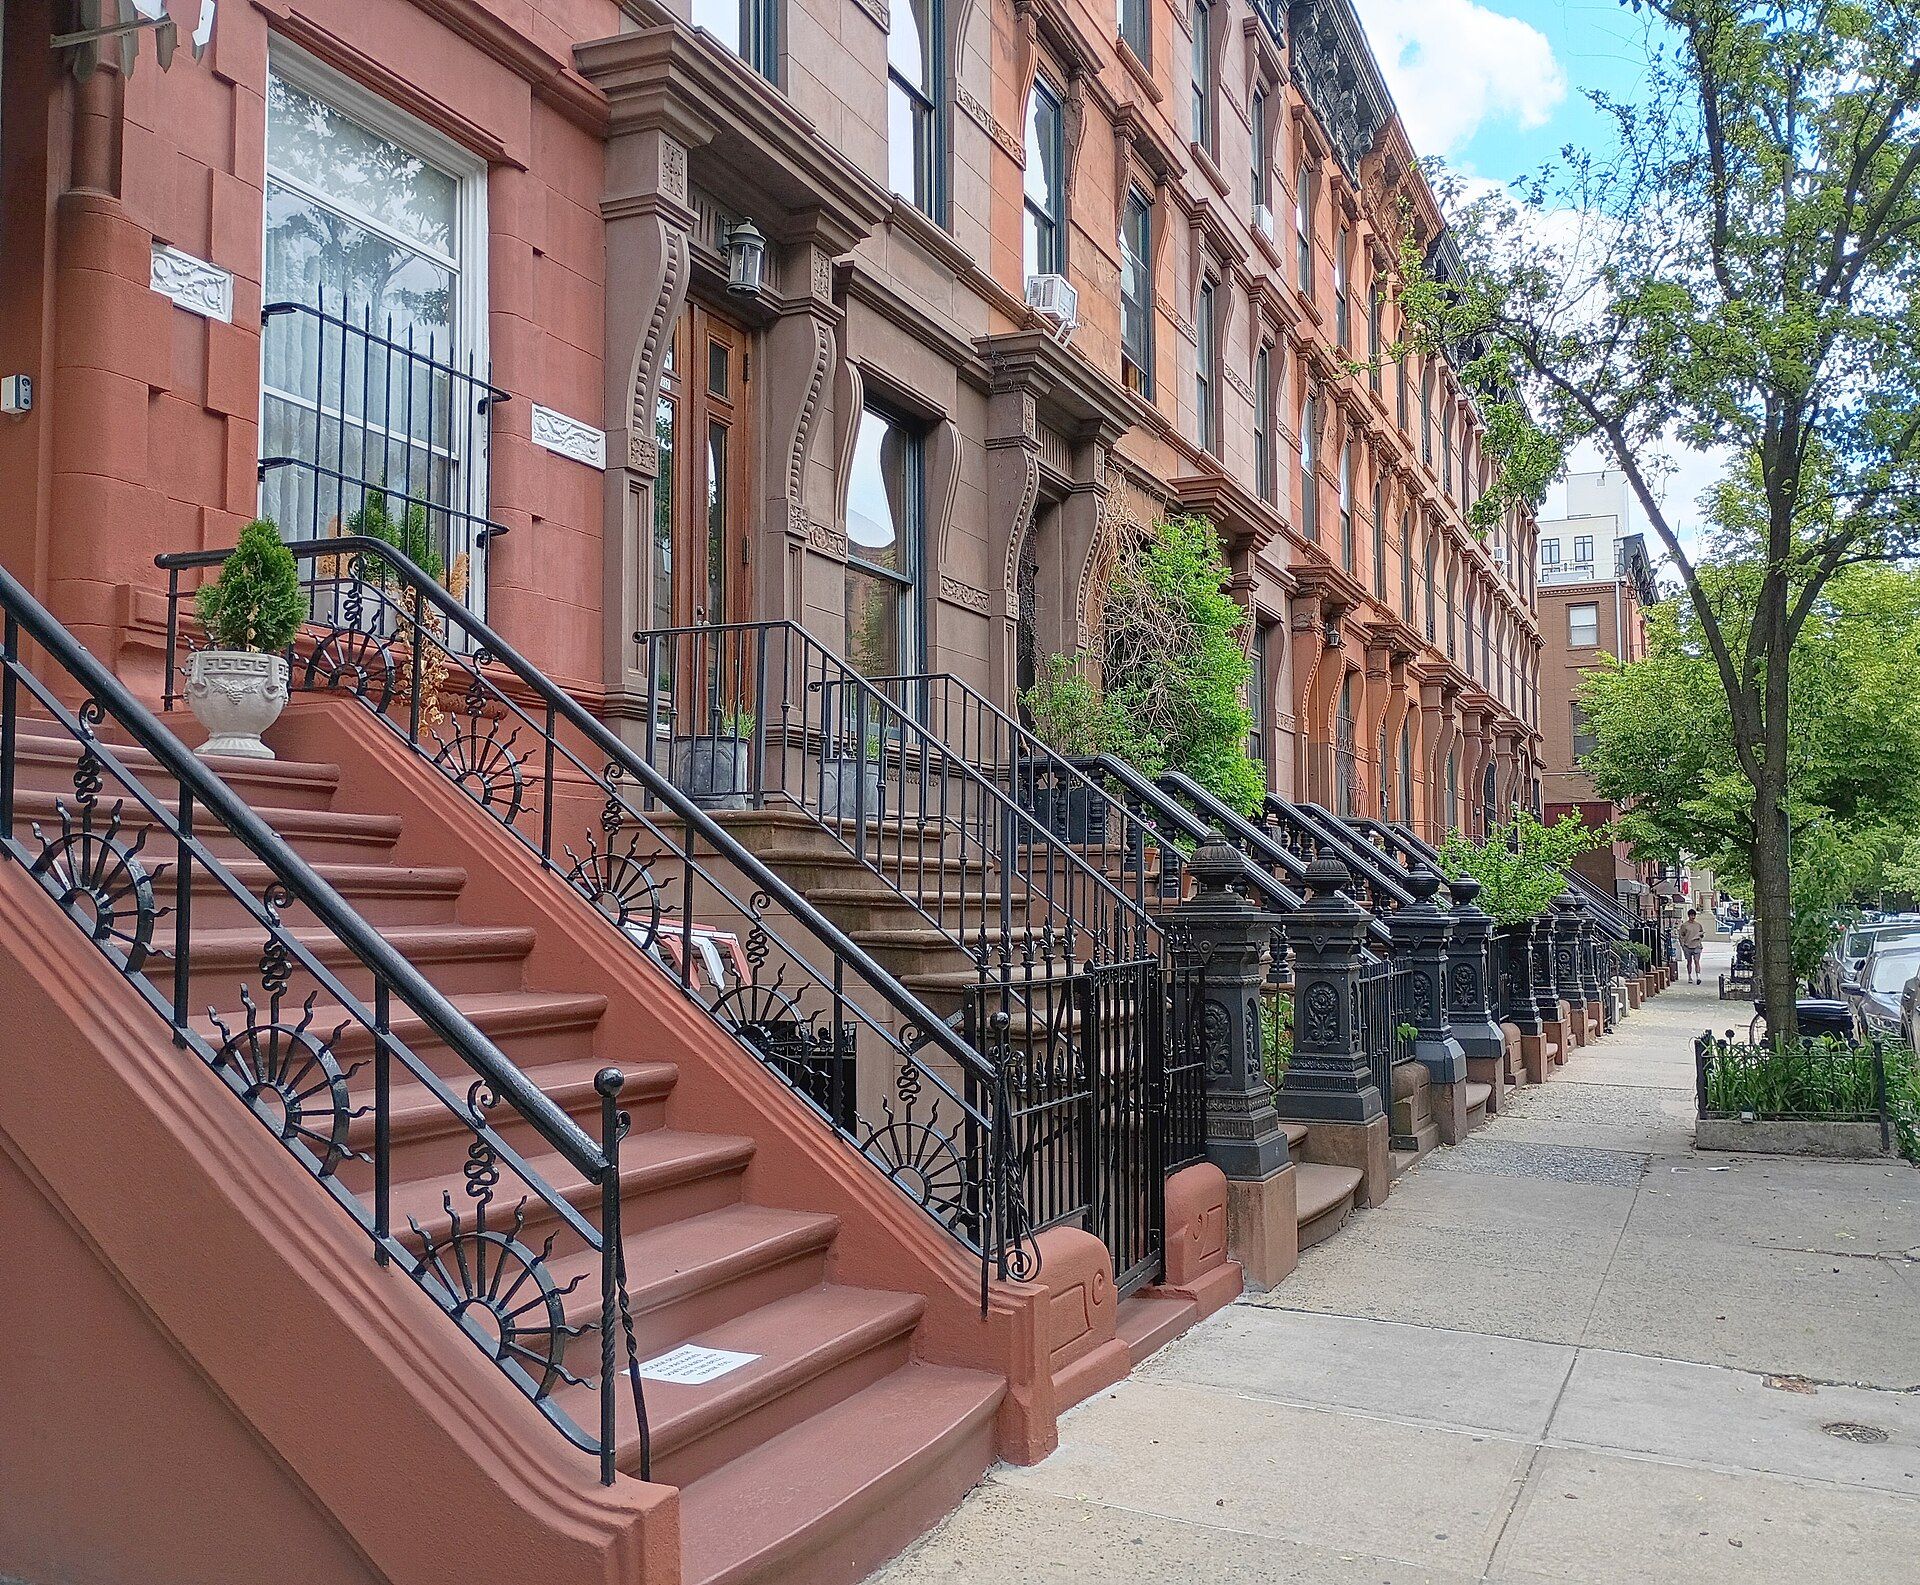
The commission adds the New York weather. A dense mortar shrinks as it dries, opens hairline cracks, and can trap moisture that expands on freezing and pushes the mortar out.1 On brownstone, water that reaches between the stone’s layers through open joints freezes and forces the stone apart layer by layer, the condition known as spalling.1 The commission asks for a mortar formulated for each job, with lime and cement mixed with sand so that it ends up softer than the masonry being repointed.1
Step three: rake out the old mortar
Old mortar comes out to a depth of at least two to two and a half times the width of the joint, which for most brick joints means roughly half an inch to an inch.2 The Brick Industry Association sets a similar floor of twice the joint thickness.3 Hand chisels and mash hammers are slow but pose the least threat to historic bricks and give the best result. Power saws and grinders are more common and can do serious harm in unskilled hands, so a test panel, usually about three feet by three feet for brickwork, is prepared first to set the standard for the rest of the wall.2 The cut should leave square corners at the back of the joint. The joint is then rinsed with a jet of water and left damp, with no standing water, when filling begins.2
Step four: fill in layers and tool the joint
Deep pockets are filled first. New mortar goes in about a quarter inch at a time, packed into the back corners, and each layer is left to reach thumbprint hardness before the next goes on; most shrinkage happens as mortar hardens, so layering keeps it small.2 The Brick Industry Association stresses prehydrating the mortar and compacting each layer to build a bond with the brick.3
When the last layer is thumbprint hard, the joint is tooled to match the historic profile. Timing matters. Tooled too soft, the joint dries lighter than expected and may crack; tooled too hard, it shows dark streaks known as tool burning and does not close tightly against the brick. Where old bricks have worn, rounded edges, the mortar is set back slightly from the face so the joint does not look wider than it is. Excess mortar is brushed off with a natural bristle or nylon brush, never a metal one.2
Step five: cure within the weather window
Lime rich mortar needs moisture and time. The Park Service suggests wall temperatures between 40 and 95 degrees Fahrenheit, work in shade where possible, light misting for a day or two, and burlap over the wall for the first three days. Once the lime begins to carbonate, it keeps gaining strength for years.2 The commission’s rule for New York facades is stricter: repointing should go ahead only when the outside temperature will stay at 45 degrees or above for 72 hours from the start of work, and it usually asks to approve a test patch before a full job begins.1
Done well, repointing restores both the physical and the visual integrity of the wall.1 It is one of the repair choices set out in the entry on renovating older buildings, a recurring task on the facade of a New York rowhouse, and part of the same long upkeep cycle as the heating plant described under steam heat in prewar buildings. After a partial collapse in Morris Heights in 2023, Gothamist reported calls from lawmakers and experts for more buildings inspectors and stiffer penalties for owners who skip required repairs.7